
What goes into making a custom vintage-style window screen…
All the windows on the second story are vertical casement windows that open inward. Most of them were without screens. Having new ones custom made would be cost prohibitive, so I decided to make some more myself.
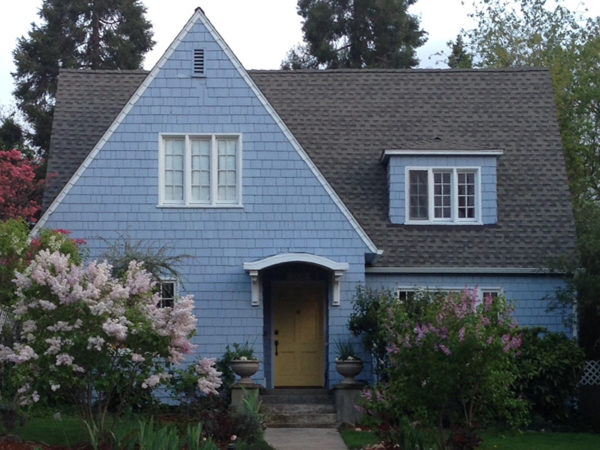
The biggest challenge was figuring out how to do a half-lap joint on the corners of the frame. (I found a number of videos on the Internet.) Actually the original screens have a slightly different joint, but it was too difficult for me to reproduce so I found that I could do a half-lap and it would be sufficient and you wouldn’t be able to tell the difference just looking at the screen from the outside of the house.
The challenge was using the table saw to slowly, pass by pass, trim the wood away half way through the board, as you can see in the photo above.
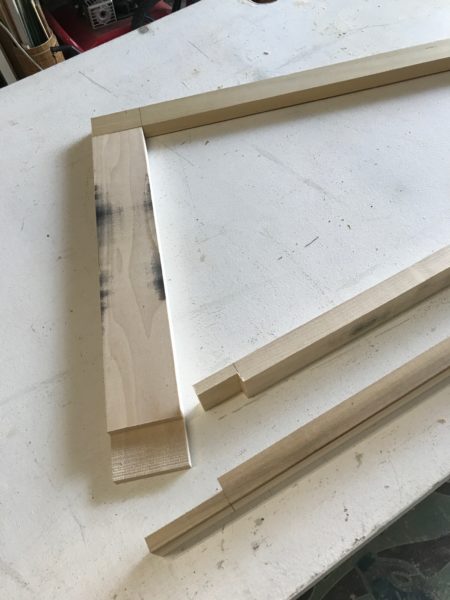
When all the joints were created, the boards were glued and nailed together (with my nifty little cordless nail gun!) and allowed to dry.
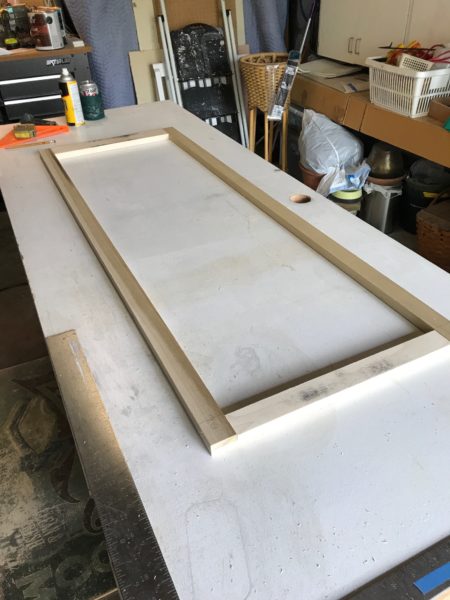
Then they had to be sanded, primed and painted. After that, the screen material was cut to size and stapled to the outside surface of the frame. A thin wood molding, called screen molding (of all things!) was cut to size and applied (after it had been primed, painted, and was dry) over the edge of the screen, close to the inner opening of the frame, covering the staples. Any excess screen was trimmed off with a utility knife. I chose to miter the corners of the screen molding which makes them look neater and more professional. The original screens don’t have mitered corners on the molding.
The screens were custom made to fit each particular window. They are held in place with “gate” hooks, one at the top and one at the bottom. Another challenge was figuring out where to place the hooks to get the screen to fit snugly into its opening.